Wednesday, December 29, 2010

Be Mine


I recently received some beautiful paper from Echo Park Paper Company along with their coordinating Unity co-brand stamps.


The paper collection is called "Be Mine" and is Paris-inspired. It inspired me to make this scaled down version of the Eiffel Tower.


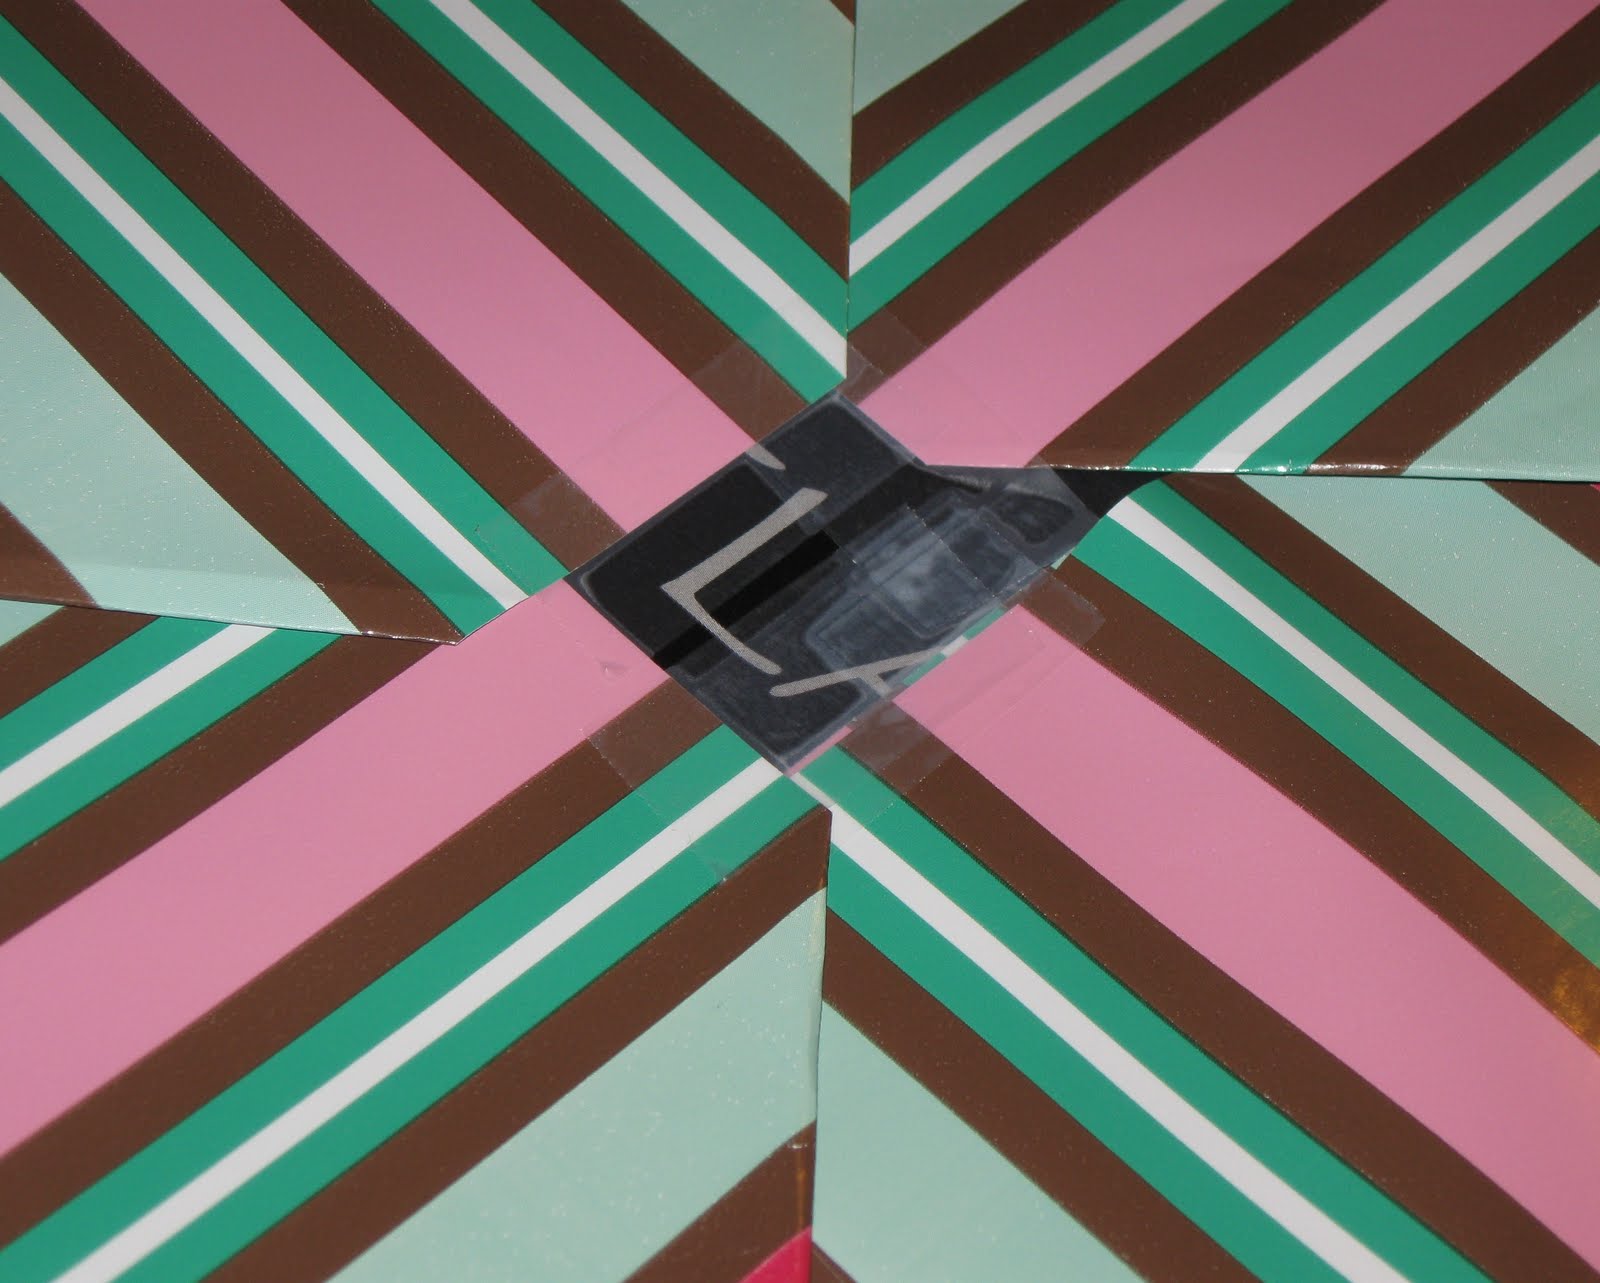
I found a free image of the Eiffel Tower online and worked in GIMP to create an image that I could use as a template.


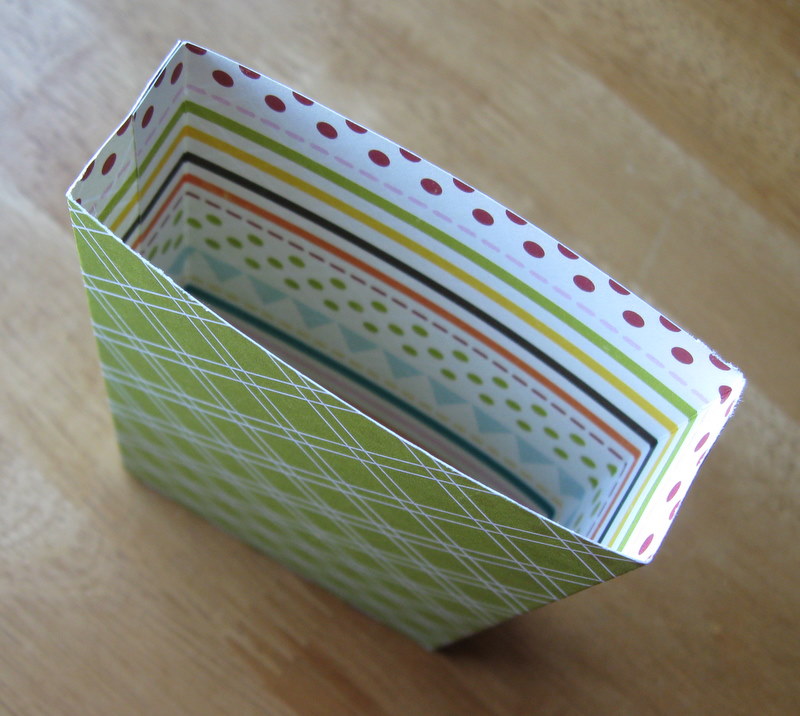
After I created the templates I made a quick sample from basic copy paper to make sure it would hold together well as a 3-D object.


Once I had created the base structure from the Echo Park paper I got to stamping and embellishing.


I actually had plans for a few more accents on the actual base structure, but I got so excited about the whole thing that I forgot and started gluing down my stamped images...oops!


Supplies:
Patterned paper: Echo Park Paper Company {Be Mine};
Stamps: Unity Stamp Company {I Adore You}; Unity Stamp Company {With Love};
Ink: Memento {Tuxedo Black};
Embellishments: Maya Road {Trinket Pins};
Tools: Fiskars {Craft Knife}; Fiskars {Paper Trimmer}; Fiskars {Scissors}; Martha Stewart {Scoring Board}; Loew-Cornell {Embossing Stylus};

Monday, December 20, 2010

Just Peachy!

Look who is going to be a Guest Designer for Peachy Keen Stamps in 2011!


{Hint: Did you who is listed on the 03/07 - 03/11 slot?}

Saturday, December 18, 2010

Another twine tip...

What do you do when you've got a LARGE gift to wrap and not quite enough wrapping paper to cover it all the way?


I recently encountered this situation when I was wrapping a gift one night and I shared my solution on The Twinery's blog here.

Friday, December 17, 2010

Brown paper packages tied up with string...


Are you wrapping your packages in brown paper and tying them with twine this year?
I am!

But what happens if you don't have tags {and don't have the time...or maybe desire...to make them}?
The Twinery to the rescue!

I found this beautiful paper at the World Market {I can't resist paisley} and I will be wrapping our presents in it.
I am using twine to distinguish the presents from each other - especially the ones with a similar shape, like these:


I have wrapped each gift in a separate color of twine from The Twinery - each family member has their own color. So when we are opening presents I can see easily that it will be going to my husband because it is wrapped in Peapod twine.
If it is in Pink Sorbet twine it will be for my daughter.
If it is in Cappuccino twine it will be for my oldest son.
Mine will have Lilac twine...and for my youngest son I still haven't decided...maybe I'll go with some bright & cheery Lemondrop!

Give it a try!


Card Supplies:
Cardstock: (White) Georgia Pacific
Patterned paper: (In Love, So Sophie collection) My Minds Eye
Other paper: (Chipboard) Kraft Outlet; (Paper Bag Paper) Kraft Outlet;
Fibers: (Caribbean, Peapod, & Mandarin twine) The Twinery;
Font: (Coffee Tin); (Edwardian Script ITC Semi-Expanded); (CK Urban); (Colonna Mt); (Century Gothic); (CK Becky);
Tool: (trimmer, scissors) Fiskars
Software: GIMP
Other: printer

Thursday, December 16, 2010

Cards from Shutterfly

Remember that promotion from Shutterfly that I shared with you about getting 50 FREE holiday cards?

Well, I received my code and placed my order today. I had already made my own handmade cards for the most part, but I did get a few spare cards to have on hand...

Love Peace Joy Holiday 5x7 folded card
Create photo new year's cards with Shutterfly.
View the entire collection of cards.


I also got some generic cards from our whole family...
Mod Peony Green 5x7 folded card
Unique party invitations and announcements by Shutterfly.
View the entire collection of cards.


And some special "Happy Thoughts" cards as well...
Simply Memories Christmas 5x7 folded card
Shop Shutterfly for unique, personalized Christmas photo cards.
View the entire collection of cards.


Those aren't the only styles I got...but that's a preview at least.

Be sure to check out the card selection from Shutterfly!

{*And of course all these fabulous pictures are from Alisha at Alisha Hurt Photography!}

Tuesday, December 14, 2010

Twine Tip

Be sure to stop by The Twinery's blog today to see a storage tip I shared for storing your Twinery twine.

Monday, December 13, 2010

Holiday Cheer

I am not always great at making holiday cards...but this year I decided to get in there and do it.

I created two versions:


{This version will go to our family and friends who celebrate Christmas.}


{And this version will be sent to some of those in our family who might appreciate a "winter" themed card instead.}

And inside will be this picture of our family {taken by Alisha of Alisha Hurt Photography}:


The final versions that I am actually mailing out will look a little bit different, but still show off some of that lovely Twinery twine!

Have you made holiday cards this year?
If so I'd love to see them!

Please leave a link to your creations as a comment so I can stop by and take a look!

Tis The Season Card Supplies:
Cardstock: (Lunch Bag Kraft ) Kraft Outlet;
Stamps…clear: (Tree, Christmas Tree set) Martha Stewart Crafts; (Tis The Season, Christmas Tree set) Martha Stewart Crafts;
Ink…pigment: (Black) Rubber Stampede;
Color media…mist: (Marshmallow/Glimmer Mist) Tattered Angels;
Accent: (White Opal/Liquid Pearls) Ranger; (Emerald Green/Liquid Pearls) Ranger;
Fibers: (Peapod, twine) The Twinery;
Tool: (Trimmer) Fiskars; (Scissors) Fiskars;

Winter Joy Card Supplies:
Cardstock: (Lunch Bag Kraft ) Kraft Outlet;
Stamps…clear: (Joy, Christmas Tree set) Martha Stewart Crafts; (Circles, Domestic) Claudine Hellmuth Creative Layers;
Stamps…rubber: (Paisley Snowman) Stampendous;
Stamps...foam: (Circles, Domestic) Claudine Hellmuth Creative Layers;Ink…pigment: (Black) Rubber Stampede; (White) Sudio G; (Lavender) Studio G;
Color media…mist: (Marshmallow/Glimmer Mist) Tattered Angels;
Accent: (Lavender/Stickles) Ranger;
Fibers: (Lilac, twine) The Twinery;
Tool: (Trimmer) Fiskars; (Scissors) Fiskars;

Friday, December 10, 2010

Time Travel, Christmas Lights, and Brotherly Love

Did you know that time travel is possible?

If you are looking at my blog, look at the date on this post - you will see that I am writing to you on December 10th...while you are there experiencing December 8th.

Unbelievable? Believe it.

Anyway...last night {the 7th, for those of you confused by my time travel} I turned on some 50's Rock N' Roll {we really need to get some Christmas music!} and put up a few Christmas decorations in our living room.


I love the glow of Christmas lights!

Looks like someone else does, too:


And of course we had to put some in the kids' room. I was trying to think of something fun to do with the lights, and I guess being inspired by watching Tinkerbell and the Lost Treasure recently and the "Peter Pan" theme I am trying to do in the kids room I thought a big Tinkerbell-ish flower would be good.


After decorating and just before bed our two little guys had this sweet moment together when Javan was "reading" to Westin. I love the sweet times like this!


Thursday, December 9, 2010

Gift Box & Bag Tutorial

Today I'd like to share with you a Gift Box & Gift Bag set tutorial. There are lots of pictures...get your eyes ready!
All the papers I am using today are from Echo Park {Sweet Summertime collection & A Walk In The Park collection}.


First we will be creating this Gift Box:


Start with two pieces of double sided cardstock - one piece should be cut to 5 1/8" x 3 7/8" and the other piece should be 5 1/4" x 4".
{The difference in size is to allow the two pieces to fit together easily. If you'd like a tighter fit, you may want to adjust the sizing of the paper a bit.}


Score each piece 3/4" from each edge. Snip one side of each corner {see picture for reference}.


Adhere together to make the box bottom and box lid.
{You can see here how the different sized papers create a loose fit.}


Your Gift Box is finished! It is the perfect size for a gift card or cash gift...or even small gifts such as jewelry, etc.


Now we will move on to the coordinating Gift Bag:


Start with a sheet of double sided cardstock that is 8 1/2" x 5 1/2".
Score 1" from the long edge of your cardstock and then from the 5 1/2" edge of your cardstock, you will score at the following measurements: 1/2", 3 1/2", 4 1/2", and 7 1/2".

You can either snip at the corners as we did in the Gift Box:


...which will result in a very flat bottom piece:


Or fold the bottom like you would when wrapping a gift or like you would see on the bottom of a paper grocery bag:


...which will create this effect:


Adhere the 1/2" flap to the inside of the 1" section at the other end of the paper and then fold the bottom to create your Gift Bag.


Please send me a link to any projects you create using this tutorial...I'd love to see them!


Gift Box & Bag Set Supplies:
Papers: Echo Park {A Walk In The Park: Picnic Fun, Playful Stripes, Raindrops}; Echo Park {Sweet Summertime: Summer Argyle}
Twine: The Twinery {Caribbean}

Wednesday, December 8, 2010

Gift Card Topper Bag Tutorial

Today I am going to show you how to create a bag that is just the perfect size to hold a gift card.
I am using papers from Echo Park's Life Is Good collection.


To create the Gift Card Topper Bag, start with a sheet of double sided cardstock and cut it to 8 1/2" x 6". Cut a topper piece that is 3" x 1 1/2" and use a border punch on one of the 3" sides.

Score the 8 1/2" x 6" sheet 4 1/2" from each side of the paper, and fold it at the creases so it looks like this:

{You will need to create some diagonal folds yourself or with a bone folder to get it to fold in at the corners.}

Adhere the flaps down so that it looks like this:

You will see as you bring the sides together that a box bottom is taking shape.


Put some adhesive on the pieces that will hold the front and back to the box bottom to keep your bag sturdy.

Adhere the topper along the top edge of one of the sides. Fold it over the other flap so that the border punch is showing on the front. I punched two holes in the top and tied it together with some twine from The Twinery. Embellish it however you'd like and there you have your Gift Card Topper Bag!


If you make one of these, please send the link so I can check it out...I'd love to see what you create!

Gift Card Topper Bag Supplies:
Papers: Echo Park {Life Is Good: Journal Cards, Seeing Spots, Floral Dress, Happy Borders}
Twine: The Twinery {Pink Sorbet}
Pen: Sakura {Pigma Micron 05: Dark Brown}

Tuesday, December 7, 2010

Crocheting with Twinery twine

My crafting generally is centered in some sort of paper crafting {or maybe sewing}, but I've recently learned to crochet and I knew the beautiful twine from The Twinery would look beautiful when crocheted. I had previously made a crochet necklace and my daughter has been asking me to make her something like it.


I created this crochet bracelet using The Twinery's awesome Lilac & Peapod twine.

The bracelet is created with a double crochet and the flower was done using instructions from the November/December 2010 issue of Paper Crafts {Instructions can be found under the "Crocheted Noel Card" by Asela Hopkins on page 37.} I created the leaf myself and I am not sure if I could make it again - I didn't write the instructions down as I was making it - but there have got to be instructions out there somewhere for a crochet leaf. I sewed a button to one end of the bracelet {it's hidden under the flower} and added a crochet chain loop on the other end for the closure.


When laid down flat the bracelet reminds me of a wreath - it could make a cute addition to a card or scrapbook page, or even a fun wreath ornament for your Christmas tree.


Be sure to stop by The Twinery's shop and pick up some Lilac and Peapod twine. Go ahead and step out of the box and create something fabulous with it!

Friday, December 3, 2010

It's a jungle in there!


We recently decided to move our three children into one room and change our other bedroom into a school room/play room. All the toys stay in the play room {well, they are supposed to stay there} and the kids only sleep in their bedroom. We've got 2 sets of bunk beds in the room - they just barely fit!


I haven't ever been great at decorating the kids rooms. I have lots of ideas, but they take time {which I seem to run short on}.

For this room my plan is to decorate in a "Peter Pan" theme. {The theme is mainly based off the forest/tree where the Lost Boys live.} The kids all love the Disney movie of Peter Pan and it has enough of a neutral design that I don't feel like it is too boyish {or too girly}.

I came on a cute little shop and found a great little bundle of linen/canvas type fabrics and some vintage bias tape. I created a few leaf patterns and cut out leaves from different fabrics from the bundle with my trusty Fiskars and then sewed them all together using the double fold bias tape. It turned out to be a quick and easy project that gave their bedroom a little bit of flair.


In this picture you can see the leaf "veins" that I sewed into each leaf - I think it adds just the right touch.

We also created these hanging leaves as a fun entrance to the kids' room.

{They started out hanging just above our kids' heads - they are now considerably shorter due to a certain little 1 1/2 year old climbing onto a stool and ripping them down.}

Soon I will show some fabulous Peter Pan themed pictures that were taken by the amazing Alisha from Alisha Hurt Photography...and hopefully soon I will order some prints and make a fun display on a wall in the kids' room.